USD
USD
How to disassemble a servo motor encoder?
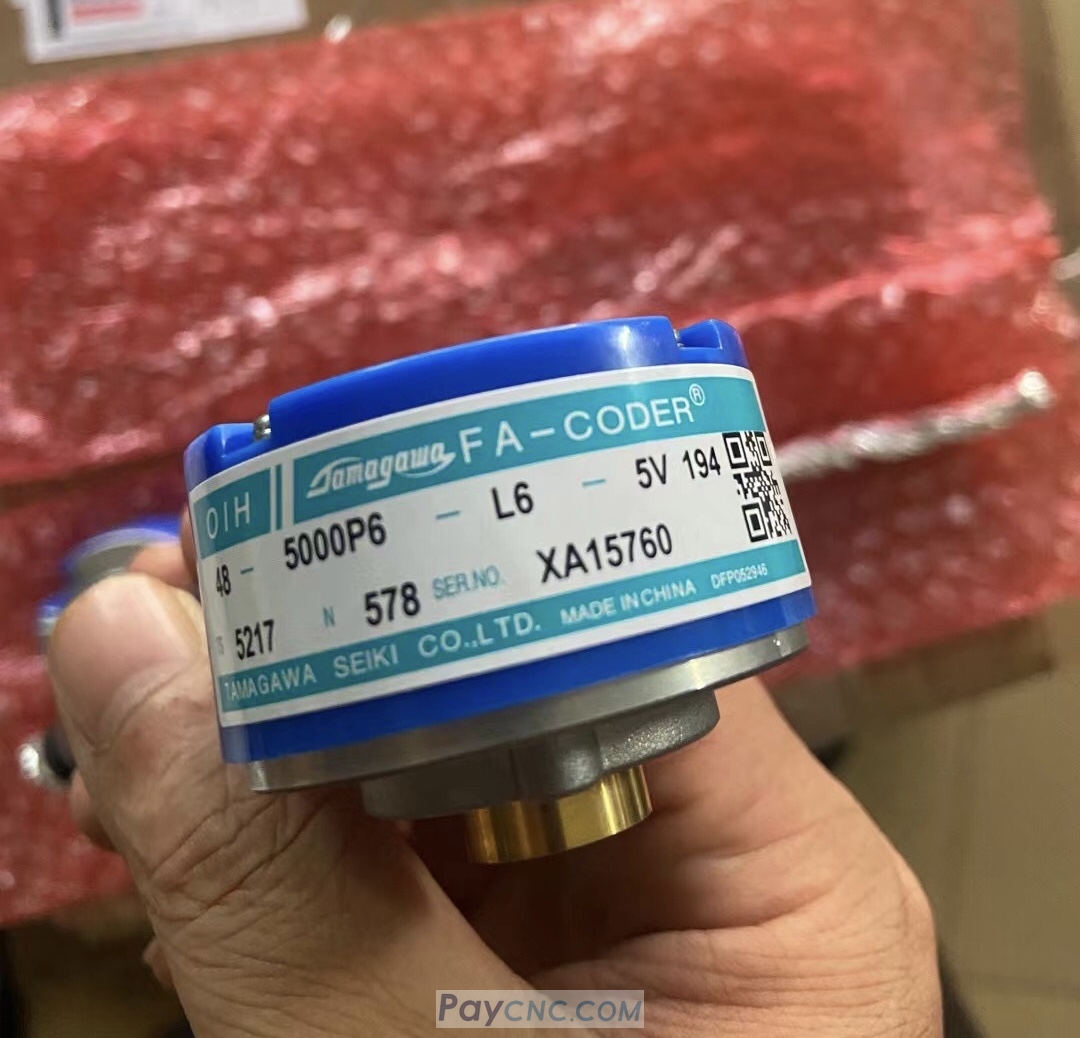
Video on Youtube
Prepare a metal rod (approx. 3.5–4 mm in diameter) and a compatible screw (e.g., M5);
Remove the motor's rear cover to expose the encoder, insert the metal rod into the encoder's center hole, and screw in the fastener until it presses against the rod (creating a "jacking" mechanism);
Hold the motor shaft steady with one hand to prevent rotation while continuing to tighten the screw with the other hand to push the encoder off;
Installation requires aligning marks, controlling torque, etc.; do not simply reverse the removal process;
Hold the motor shaft steady to prevent the rotor from turning (to avoid losing the zero-point reference), use specialized tools to prevent encoder damage, and note the wiring sequence;
Zero-point calibration is required after replacement (aligning physical marks or calibrating via drive parameters); otherwise, the motor will not operate correctly.
This method applies to specific encoder models (e.g., certain domestic or Japanese units) featuring a center hole; structural designs vary significantly across brands (Siemens, Mitsubishi, etc.) and are not interchangeable;
For professional repairs, it is recommended to contact paycnc to avoid loss of precision or equipment damage caused by attempting the procedure yourself.
Paycnc offers different kinds of encoders
If you could not find the exact model, you can send item photo and its nameplate to paycnc@paycnc.com to or WhatsApp us get quotation.
#rotary #encoder